|
|
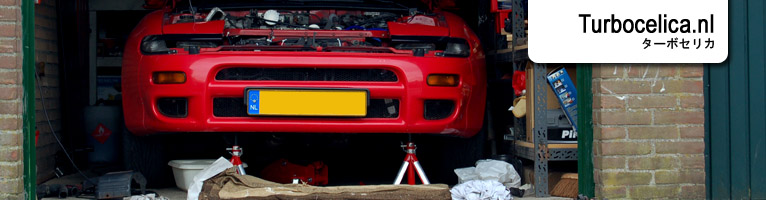
How to replace the head lights Disclaimer Please note that I am not a mechanic by trade and that I nor Turbocelica.nl can be held responsible for any damage, injuries or death caused by work you perform using this website as a guideline. Parts and tools needed Replacement head lights/light bulbs Medium Phillips screwdriver  Fuse box First of all, put the headlights up, but off, which is the - on your light switch. To keep things safe, pull the RTR 30 A fuse (the green fuse I'm pointing at in the picture below) in the fuse box next to the battery. This fuse removal disables the popup function of the headlights, so you can't accidentally amputate your hands or head during this installation.  To get to the bulbs, you need to get the headlight units out of their brackets. Step 1 is to prevent scratching. 1) Remove the central carbon-look strip in between the corner lights. It is held in place by two screws in the corners and three on top 2) Remove the screws (two on the inner side (blue), one on the outer side) which hold the black plastic frame around the headlight 3) Remove the black plastic frame 4) Loosen the four screws (the top ones are circled in red) in the chromed frame which clamps the headlight in the bracket. There should be plastic rings on them to prevent them from falling out: 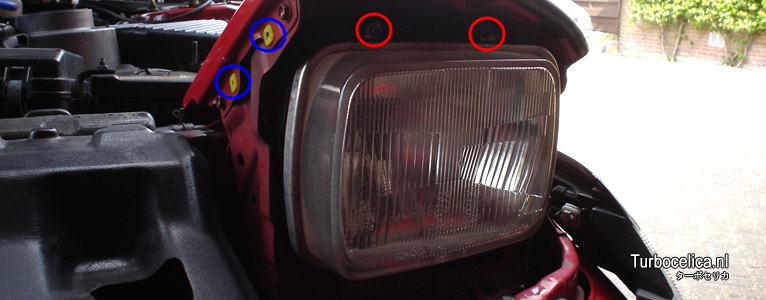 Be sure NOT to turn the two bigger screws on the bottom and outer sides of the frame, these are to adjust your lights which probably isn't needed at this point. Take the headlight out of its bracket a little so you can pull the brown connector on the back and get the headlight out. To get the bulb out, pull the rubber cap off the back of the reflector houding and release the spring. Remove the bulb and be careful not to touch the glass parts of halogen bulbs. The bulbs use a H4 fitting and are 55/60 W. 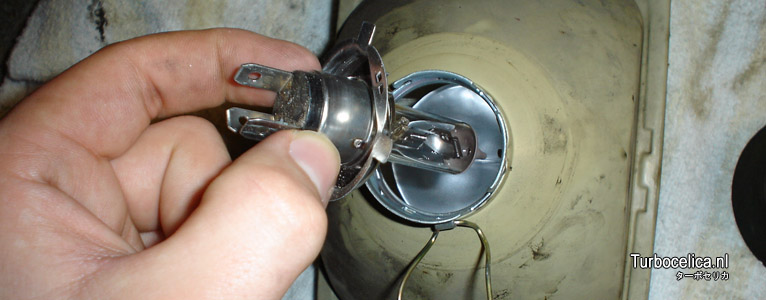 Before you reinstall all parts, make sure the new lights work. Job done!  How to.. Pilot 8000K bi-xenon Top |
|
|