|
|
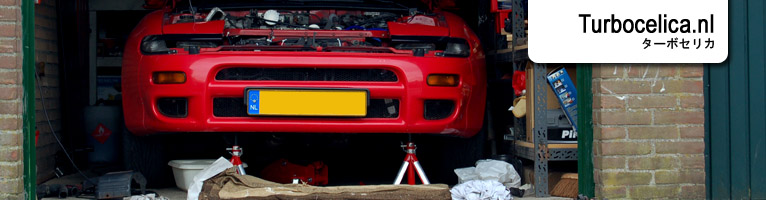
How to install ST205 rear brakes Disclaimer Please note that I am not a mechanic by trade and that I nor Turbocelica.nl can be held responsible for any damage, injuries or death caused by work you perform using this website as a guideline. Parts and tools needed ST205 rear brake discs ST205 rear brake calipers ST205 rear brake pads Braided rear brake lines (optional) Brake fluid Basic socket set Brake line spanner Hammer Pliers WD-40  Stock brake removal park the car on a flat surface, put it in gear, do NOT apply the handbrake and block the front wheels if possible. Now you can jack the car up, place axle stands and get the rear wheels off. Remove the caliper by removing the two bolts holding it to the hub on the back (red). You can leave it hanging on the brake line or support it (on a suspension arm). Now you can take the rear disc off and check the condition of the handbrake shoes (pads) if you want: 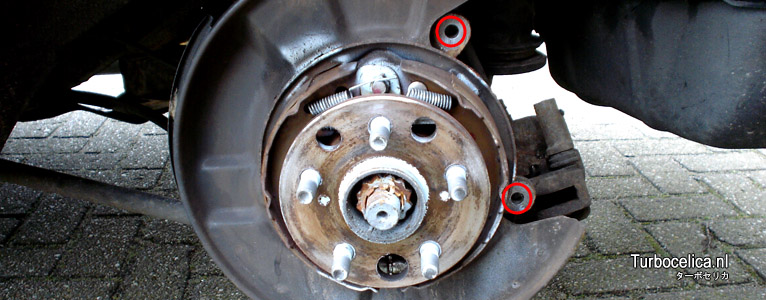 Disconnect the caliper from the brake line. If you also install braided brake lines you can disconnect the brake line from the chassis connection point. Gently use some pliers if you can't get it off with a brake line spanner, you don't want to destroy parts at this stage. Keep in mind brake fluid is nasty stuff - use a container/jar to collect the dripping brake fluid. If you're going braided, connect the braided brake line to the hard line. The ST205 discs are bigger than the ST185 discs (315 vs. 288 mm) so before you can mount the new discs, you have to bend/beat the splash guard away so the disc won't touch it. Now you can put the new disc on and bolt the new caliper to the hub. Connect the stock or braided brake line to the strut and to the ST205 caliper.  In case of an 'open' brake line bracket on the strut you can connect the caliper first, as in the photo above. This way it's easier to divide the length of the line when mounting it to the strut. Put the brake pads, pad retaining pins and anti-rattle springs in the calipers and double check all bolts again. If you have done both sides it's time to bleed the brakes. After bleeding the brakes, check for leaks. Keep in mind that to maintain proper brake balance, you now have to upgrade the front brakes too. To prevent noise or vibration coming from the rear after the swap, you need to center the disc on the hub properly. Check out the tech article to see why and how I did mine. Job done! Keep in mind new brakes perform best after bedding in. Increase the braking force step by step before testing them to the max.  54.1 vs 55.0 mm How to.. How to bleed the brakes Modifications - Brakes Top |
|
|